
Easy No-Bake Mango Cheesecake
- May 3, 2024
- 3 min read
Updated: May 9, 2025
If you are looking for an easy and delicious homemade dessert, that is sure to impress, this creamy no-bake Mango Cheesecake is just the one for you! This Mango Cheesecake is refreshing, light, and the perfect dessert to prepare for a large group.
Ingredients
For the Base
20-24 (360 grams) Digestive Biscuits/Graham Crackers
½ cup (113 grams) Butter, unsalted, melted
For the Cheesecake Filling
1/4 cup Milk, room temperature (in the video I accidentally said ½ cup)
2 sachets (14 grams) Gelatin, granulated
2 cups (350 grams) White Chocolate, melted and cooled
2 Blocks (500 grams) Cream Cheese, room temperature
1 cup (240 ml) Whipping Cream/Heavy Cream
2 cups (530 grams) Mango Pureé/Pulp, fresh/canned
1 tsp Lemon Zest
2 tbsp Fresh Lemon Juice
1 tsp Vanilla Extract
For the Decoration
¼ cup Mango Pureé/Pulp
⅛ tsp Gelatine, granulated
Mango Pieces
Mint Leaves
Method
In a resealable plastic bag or a food processor, crush the biscuits to form a fine crumb. Now pour in the melted butter and mix till the biscuit crumbs have absorbed all the melted butter and you have a wet sand-like texture.
Emply this into a 9” loose bottom cake pan and spread it around evenly. Now press it down to form a firm base. Place the cake pan in the refrigerator while you mix the batter for the cheesecake.
In a small bowl, add the milk and sprinkle on the gelatine. Leave it aside to bloom while you chop the white chocolate. Put the chopped white chocolate in a microwave-safe bowl, and place it in the microwave in 30-second increments till just melted. This should take about a minute. Leave it aside to cool.
In a big bowl, add the softened cream cheese and with your mixture on medium speed, mix the cream cheese till smooth.
Now add the heavy cream and continue to mix the two till well incorporated and the cream begins to thicken. Scrape down the sides and the bottom of the bowl occasionally while mixing.
Pour in the mango pureé, add the lemon zest and lemon juice, and mix it all on a medium speed till well combined.
Now add the cooled melted white chocolate and vanilla to the batter before giving it another mix and you have a smooth batter. Occasionally, scrape down the sides and the bottom of the bowl while mixing.
Place the bowl with the bloomed gelatine into the microwave for 10-20 seconds. Whisk it to make sure it has melted. To temper the gelatine, take a spoonful of the batter at a time and mix it into the warm melted gelatine. This will help to cool it down and also make it easier to get evenly distributed in the batter.
With your mixer on medium speed, pour the tempered gelatin into the batter and mix till just incorporated.
Now pour the batter into the spring from the pan on top of the set base. Once you have an even layer of the batter, tap it down on your work surface to remove any air pockets that may be trapped inside.
To decorate the cheesecake, take some of the mango pureé and add a little gelatine to it. Set it aside to bloom for just a minute before placing it in the microwave for just 10 seconds. Now stir it around and once cooled, place spoonfuls of the pureé all around the top of the cheesecake. Using a toothpick or a bamboo skewer swirl the pureé in a circular motion to form a lovely design.
Cover the springform pan with a plastic wrap and place it in the refrigerator for the cheesecake to set. This could take anywhere between 4-6 hours but overnight will give you the best results.
To unmould the cheesecake, take a thick damp kitchen towel, and place it in the microwave for 2 minutes. Now wrap it around the springform pan for about 30 seconds. You can also take a spatula or a knife and run it around the top of the cheesecake all around. Now release the clasp and remove the ring.
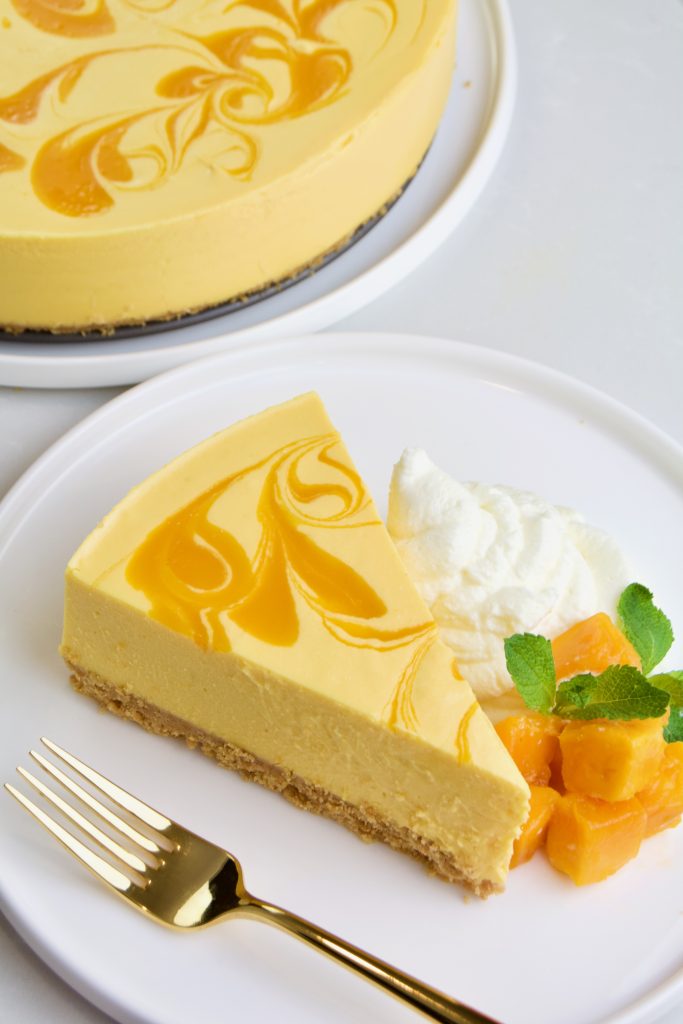
Dessert is ready! Cut a slice and enjoy with a dollop of fresh cream, and cubed fresh mangoes, add a little mint for a hint of freshness.


I’ve made this recipe over 10 times now, and it never fails to impress. Everyone always compliments it. It’s incredibly easy to make, and the mango flavor really shines through. The white chocolate adds the perfect level of sweetness without being overpowering. The only change I made was swapping the digestive biscuits for honey graham crackers in the crust based on personal preference, and it turned out amazing.